Is there plastic radiator shrouds available from a Husqvarna model that fits the RS300R?
Beiträge von mrsdnf
-
-
Thanks for the update OliKa97.
I tried modifying my RS300R with a 2.2k ohm resistor. The two wires to connect the resistor to were the two terminals nearest the clip on the plug. I heated the O2 sensor up and these were the two connections that had a voltage reading.
The results were not satisfactory for me as the bike would idle low when stopped from riding and then stall. When started again it would idle ok. I have put the O2 sensor back on my bike. -
You have one trick looking bike Vinc_500smr. It looks like you have done lots of modifications to it.
-
Zitat von cp2675Alles anzeigen
At first welcome on board. And second, do not care about the hour meter at the Display. It counts all the Time. My dealer told me that he can read the real hours when he put on the Diagnostiktool.
I hope you understand what i am meening. It is a long time ago when i wrote english.
Thanks cp2675 for the explanation on the hour meter. That would make sense.
I'm not sure how the translation works when I post up and you read it as Google translates most of the page for me. -
For longer rides I've put together a toolkit to carry. This is not complete yet and I would welcome any suggestions for extra tools.
A tyre pump and puncture repair kit are still to be added.
The tool kit pouch was purchased by me and this is not a review of it as I have not used it on the bike yet. It fits in place of the belt on my back pack and is worn at the front.The tool kit pouch itself.

The front flap is clipped to the rear of the bag. With the front flap open, a clear faced pocket is located for a map.
The toolkit fits in behind a zippered compartment.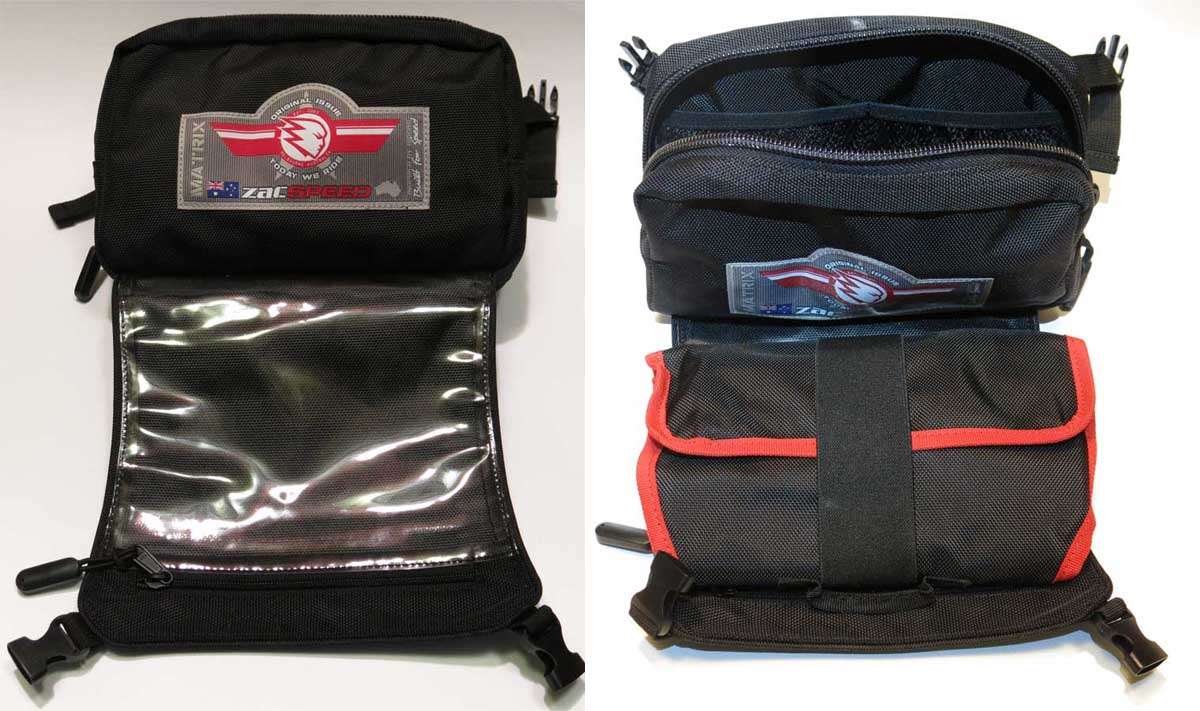
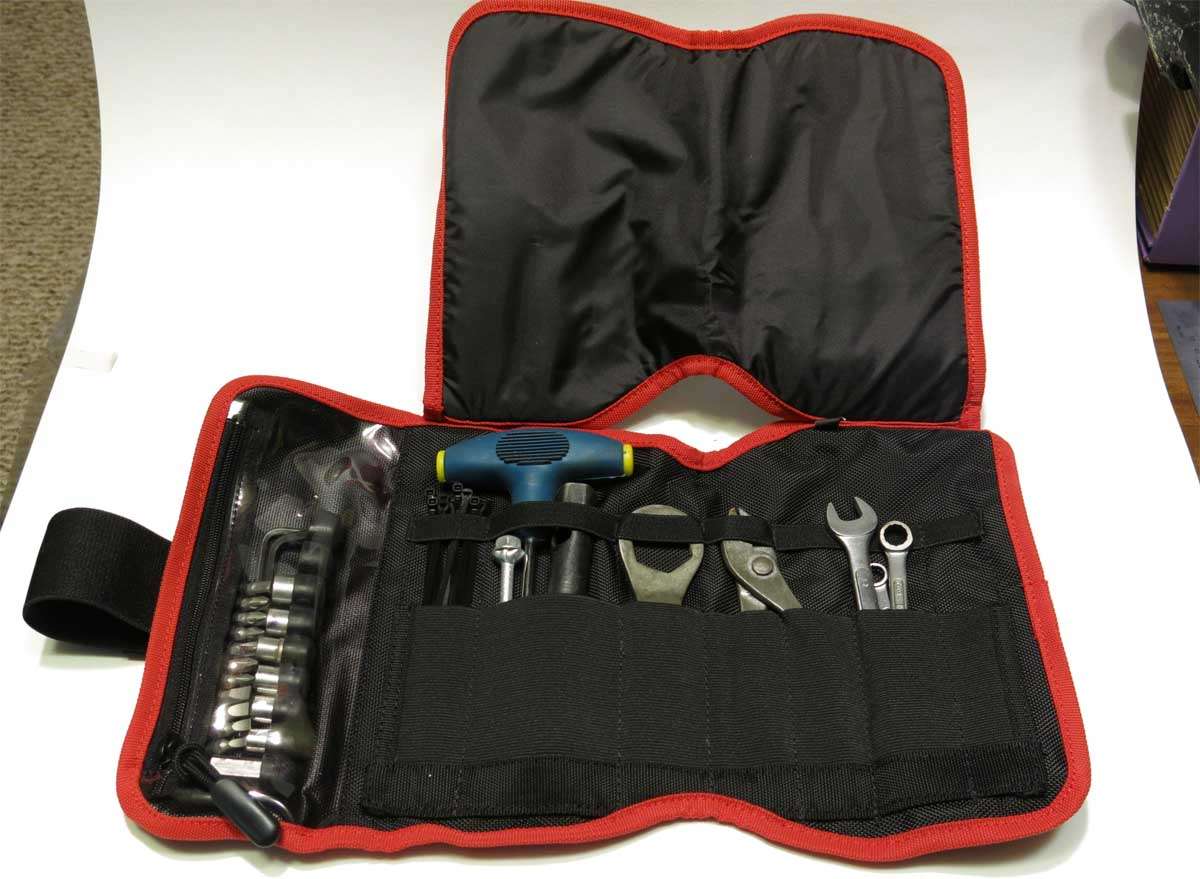
The took kit pouch opened with the tools I have so far.
The tools I have collected so far.
1/4'' drive sockets are 8mm, 10mm, 12mm, short piece of 12mm hex for front axle removal, 4 and 5mm allen keys, torch, small cable ties, tube spark plug spanner, male 1/4'' drive ext with 12mm nut welded to it for tighter bolts etc, kit with numerous screw driver etc bits, 1/4'' t bar drive, old Yamaha spanner for rear axle, old Yamaha pliers, tyre levers, 8, 10 and 12mm spanners and short piece of 3/4'' tube flattened on the ends for axle nut spanner and tyre lever extension.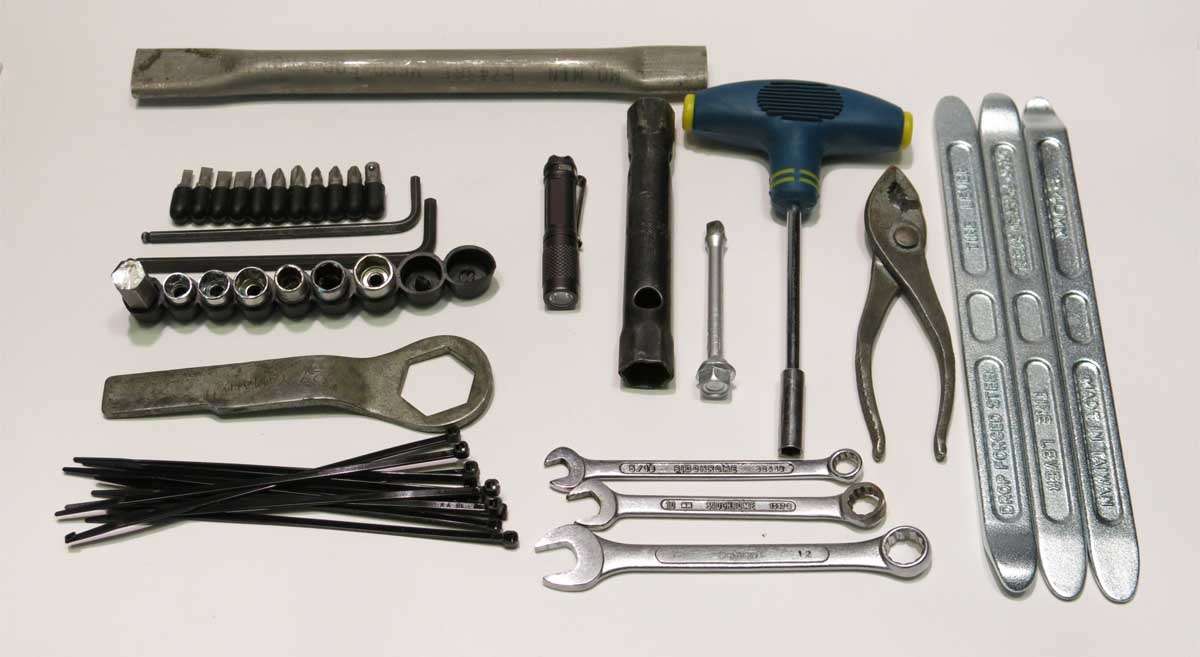
And a final picture of the 3/4'' tube.

-
I've owned this bike now for a couple of months and slowly been modding it and adding accessories to it for protection and reliability.
If anyone knows how to read the hour meter please let me know.
Firstly an Australian built bash plate was added.
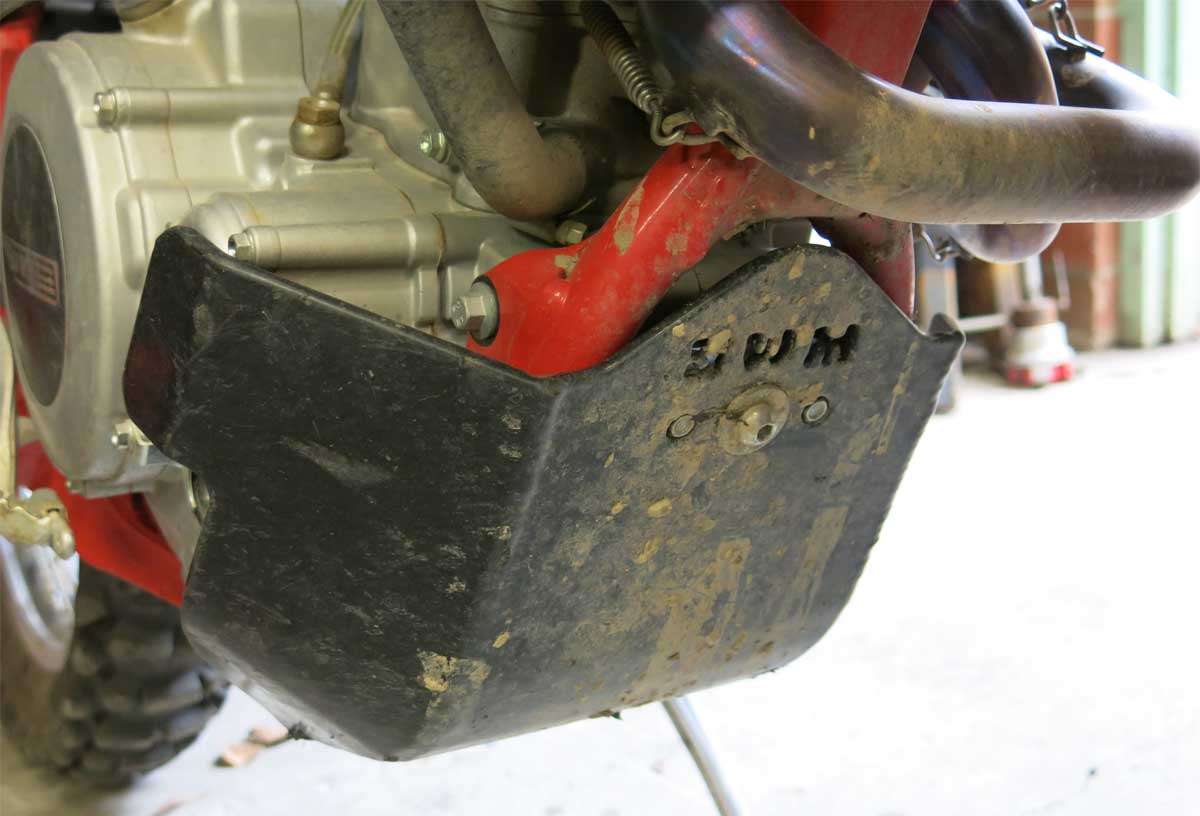
The wiring was tidied up behind the headlight to prevent the wiring loom from bending on the left hand side of the head stem. I believe the wiring will break here if left the way it comes from the factory.
The clutch starter switch was also bypassed.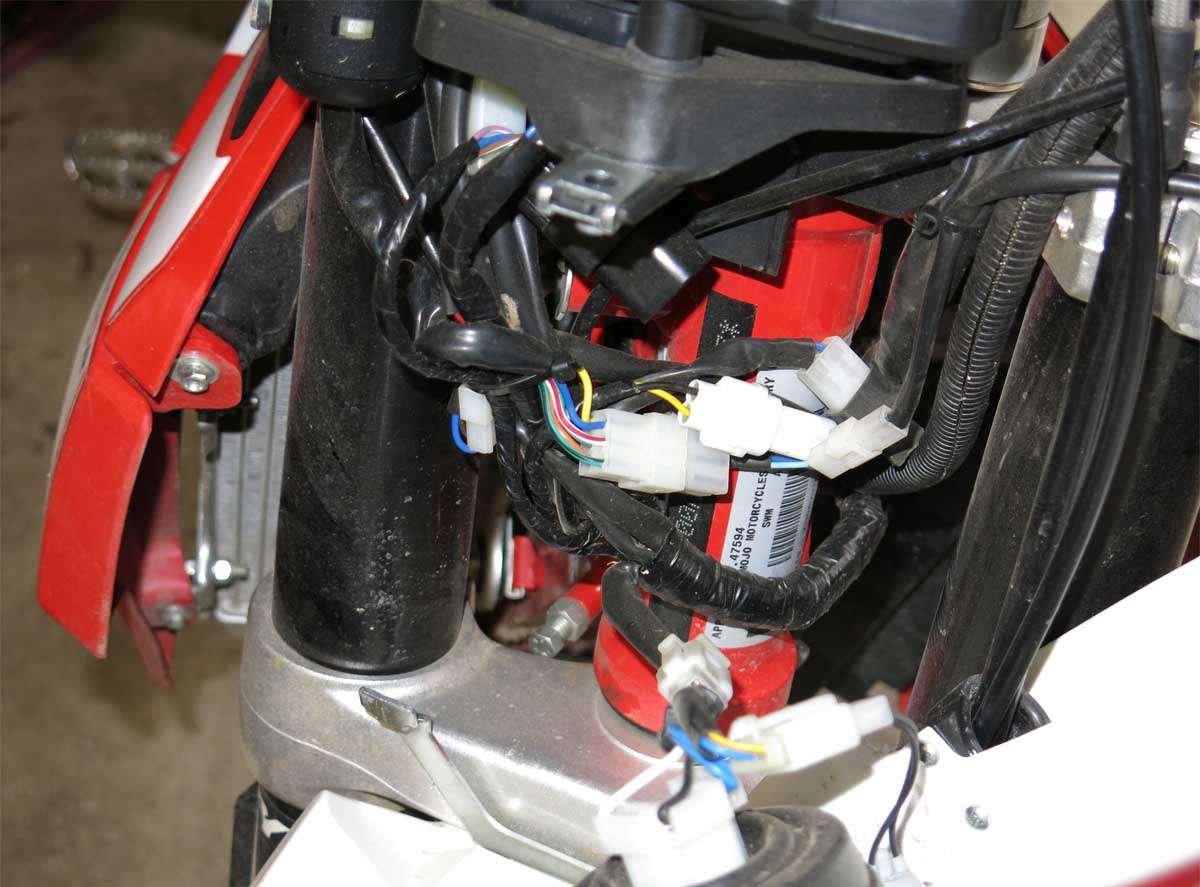
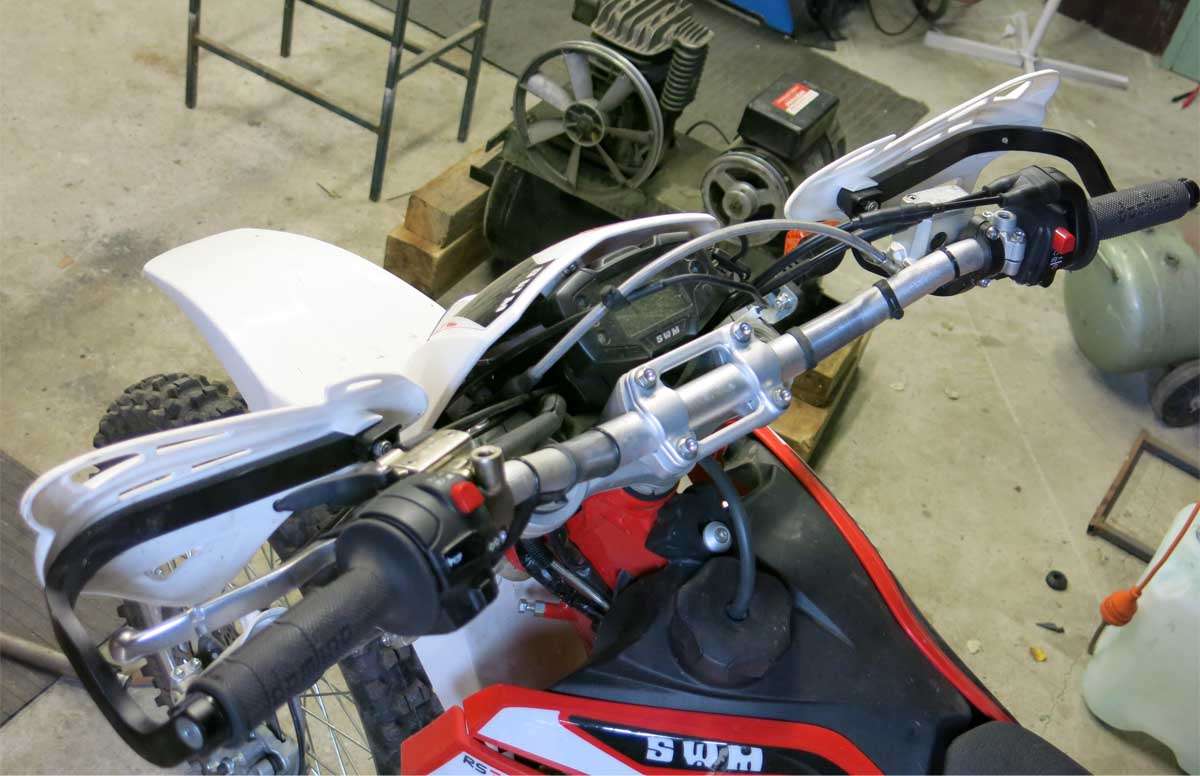
Hand and lever protection added (called bark busters in Australia).
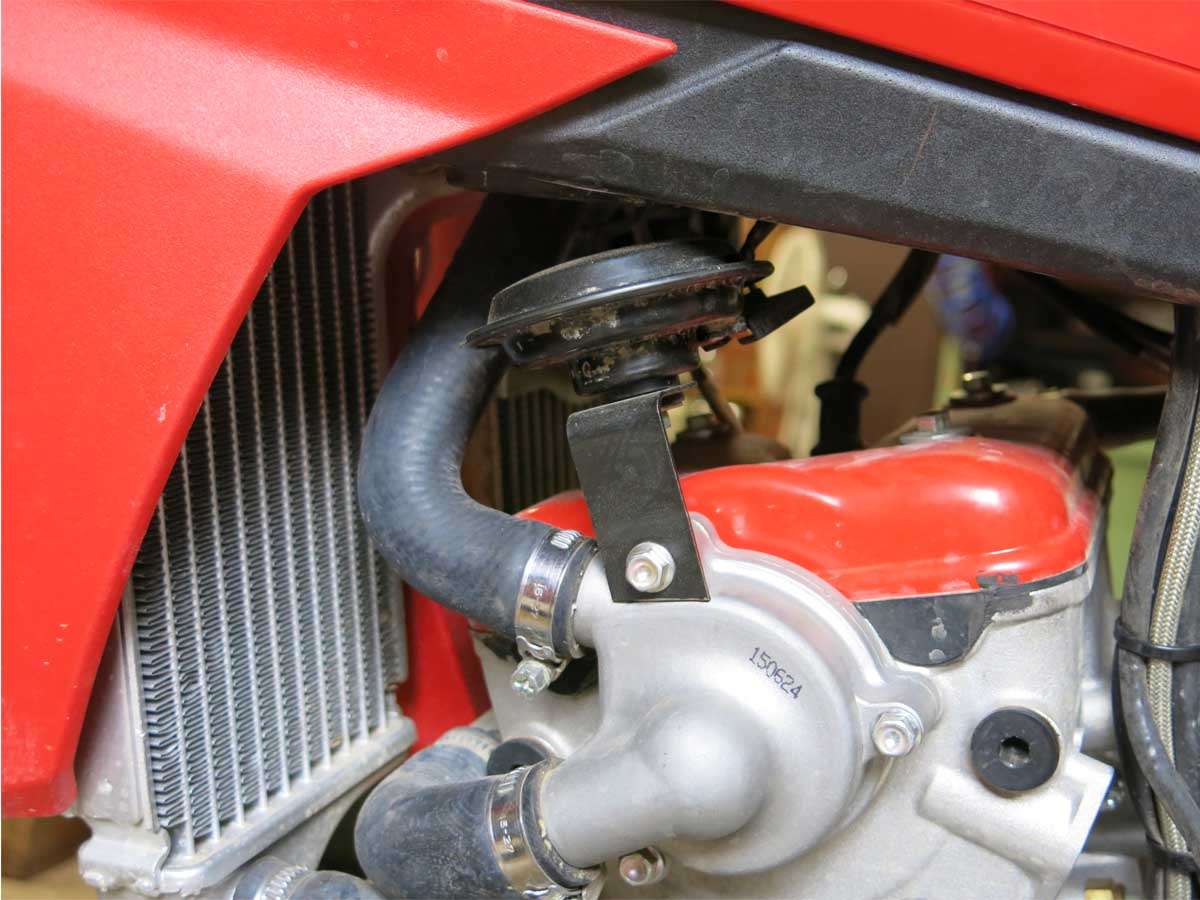
The horn was removed from in front of the right hand side radiator and relocated under the fuel tank on the left hand side. The bracket was modified to allow this.
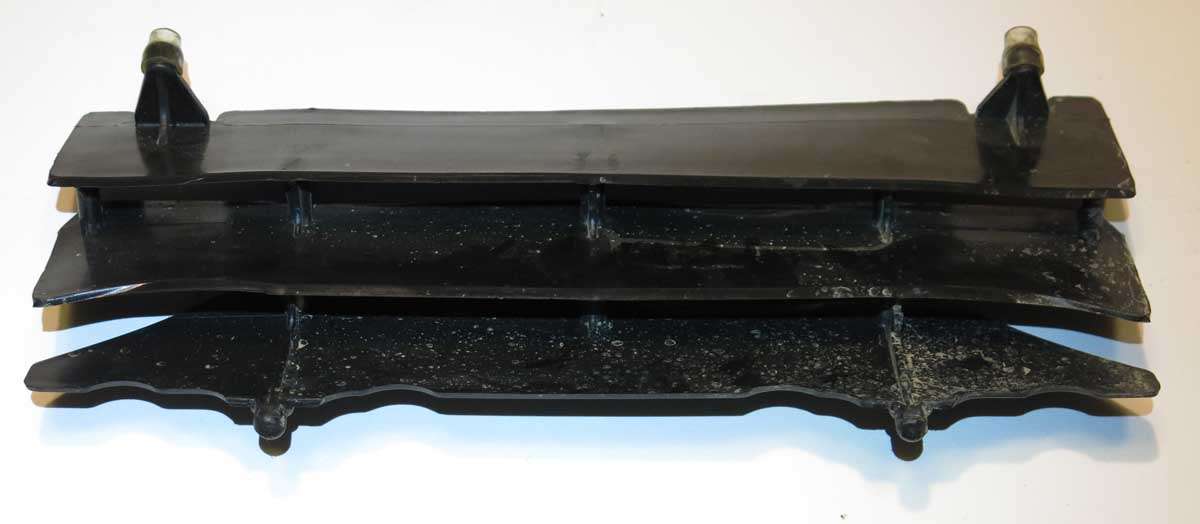
The radiator guards were very loose when fitted. These were modified by adding small lengths of tube pressed over the two locating bosses.

-
That is a terrific write up on fitting the kickstart with really good pictures. Thanks for taking the effort cp2675.
-
OliKa97. Thanks for the info on removal of the sensor.
Where did you solder in the 22k Ohm resistor?

